OPNSense on a Soekris net6501
We actually used several of the Soekris single board computers before they suspended US operations. One of the features I enjoy is the flexibility the device affords any network tech or enthusiast. After speaking with a co-worker, I have decided to document the steps I taken for anyone else wanting to make use of this product.
The router/firewall operating system I chose to use is OPNSense, quick history it is a fork of another firewall operating system, PFSense, which in turn was a fork of m0n0wall. It is OpenBSD based. There’s a lot more I can say about it, but, I digress.
So, first, let’s go over what’s required:
- Thumb drive, suggested 2 GiB.
- A mSATA adapter. I used a mSATA-to-SATA adapter then a SATA to USB.
- Two mSATA drives, identical. I used two 16GiB drives.
- A macOS computer. Just kidding… kinda. I mean c’mon man why make life harder?
You are free to follow the steps in any order you see fit. But I suggest to do it my way because its what worked out for me. Assume these instructions are primarily written based on using a macOS computer.
First, let’s make sure to prepare the drives. Using the mSATA-to-SATA adapter, connect it to your computer. Open Disk Utility and verify the disk id that it is assigned. For example, mine showed up as Disk2.
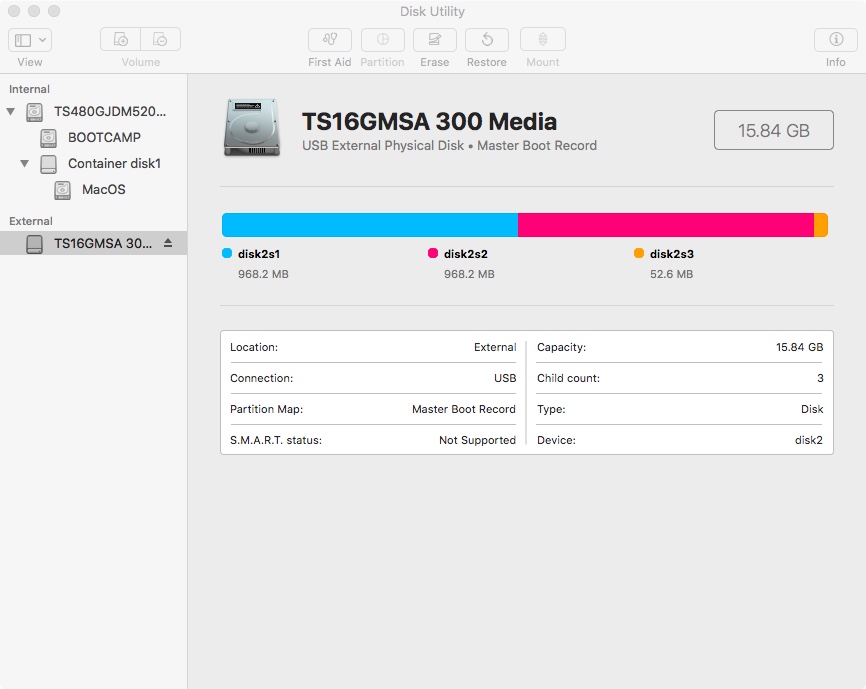
So in Terminal I ran:
sudo dd if=/dev/zero of=/dev/disk2 bs=4096
If you are suffering on a Windows computer, and deathly afraid of the command line, Windows has a disk management program.
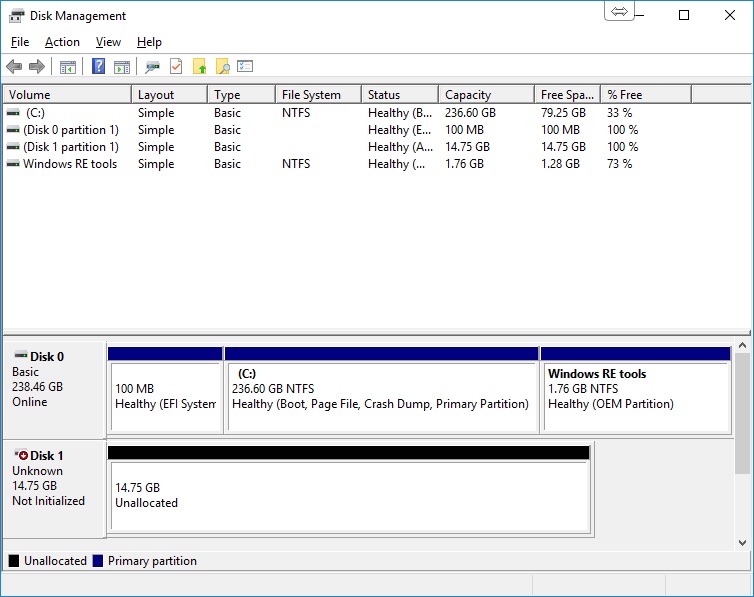
Although you can delete the volumes and hope for the best, don’t. You may end up wasting time in the long run if the disks retain any partition information or raid configurations.
Just open DiskPart through a Command Prompt. Using the list disk command, you can display the disks attached. Using your best judgement, decide which is the correct disk. If you are not sure, disconnect the drive and run the list disk command again to see which drive no longer is listed.

Once you’ve determined which is the correct disk (in my example disk 2), run the following command:
select disk 2
You will get a message that the disk has been selected. Then run:
clean all
Complete this for both disks. You can go on and work on the next step while the disks are being wiped.
Now let’s work on the installation media. Navigate to OPNSense download page and select your architecture and image type installation. For the Soekris net6501, you’ll want to use the i386 serial image. Select the mirror site closest to you and download the file. Once downloaded and unzipped (I recommend 7-Zip because it’s awesome, that’s why.) Write it to the USB, assuming it’s Disk3. If you do not know the disk id, look at the previous steps.
sudo dd if=[path_to_img] of=/dev/disk3 bs=4096
If this fails, zero out the USB disk. AGAIN, REFER TO THE PREVIOUS STEPS.
I’m sure, like me, you’ll like to see what’s going on with the Soekris device. So I connect my USB-to-serial adapter and serial 9-pin cable to it. Make sure all the drives/media are removed. Trust me, it will only make you more frustrated in the long run. Then I run the following commands in Terminal:
ls /dev/tty.*
This reveals the serial adapter device. Then I copy the full device name with the connection baud speed:
screen /dev/tty.USA19H141P1.1 115200
This connects me to the device. If you are seeing strange gibberish, the Soekris is likely set to a different speed. Here are the common speeds that may be set:
- 9600 is pretty common
- 115200 is OPNSense default speed and highly recommended
- 19200 is the Soekris default
- Other common speeds are: 1200, 2400, 4800, , 38400, and 57600
If you followed my advice and removed the drive you should see the close arrow bracket Soekris monitor firmware uses. If nothing is showing in the terminal, press the black reset button on the Soekris device. If you continue seeing gibberish: continue to test, close window, unplug the USB adapter, and try another recommended speed.
Once you are able to read the output, it should look similar to this:
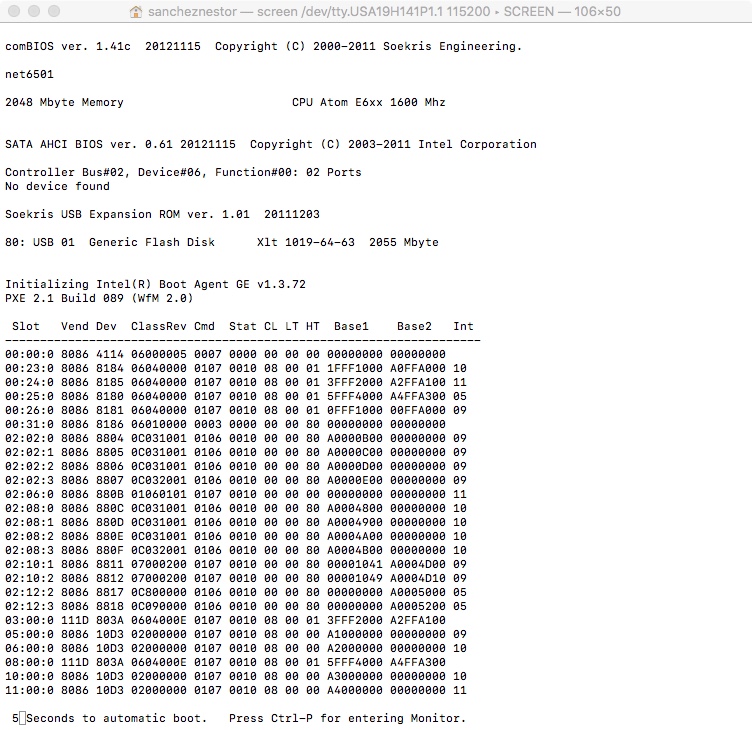
use the show command. It will show the current parameters. You’d want to make sure at this point the best parameters are set up for the OPNSense system.
set BootDrive=80 81 F0 FF
set ConSpeed=115200
Okay, to the vigilant eye, you may have notice I cheated. In the image above, I actually had the prepared thumb drive with the installation media inserted in the USB drive. So, if you did follow my instructions, go ahead and insert the thumb drive in the USB and reboot. Note the USB assignment. This would usually start with 80. I have seen it assigned as high as 82 once. If it does not show during boot either reset the device or try another USB drive. Remember there is one in the rear and another on the board if you remove the access panel. If it does not show, check the thumb drive. But if it shows but does not automatically boot, check the boot drive setting by using the show command. you can also boot direct to the thumb drive with the assignment, in example if it was assigned 81:
boot 81
If it does not boot after pressing enter, press the device reset button and try again.
Once it completes boot, you will see a few questions and I listed my responses:
Set up VLANs?
No
WAN
em0
LAN
em1
Login
installer
password
opnsense
< Ok, let's go. >
< Accept these Settings >
< Setup GEOM mirror >
< Yes, setup a GEOM mirror >
Select members of the GEOM mirror, usually starts with ada
< Guided installation >
< mirror/OPNsenseMirror >
And just wait.
If during the install you see a FAILED message (see below), the disks you are installing onto were not properly wiped.
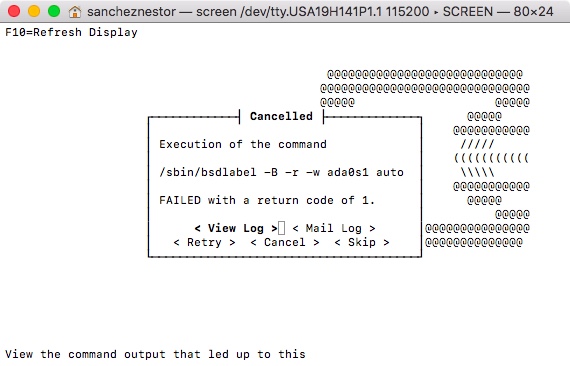
Then You’ll be presented to enter a root password
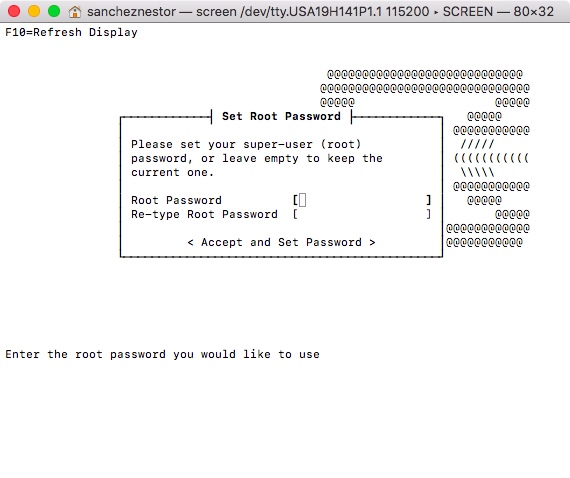
< Accept and Set Password >
Although you are given the option to remove the media and
< Reboot >
I just press the reset button on the device. Allow it to load, again keeping in mind that it may hang on boot and require pressing the device’s reset button. Once it loads up you should be presented with the login screen.
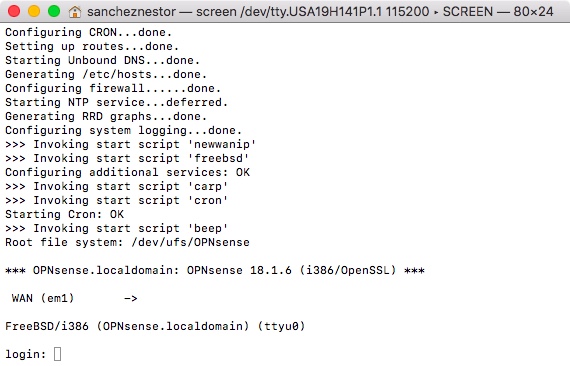
Congratulations! Installation is complete!